Are you frustrated by unsightly imperfections in your smile like chips, cracks, stubborn stains, slight gaps, or mild overcrowding? If so, you might benefit from getting porcelain veneers. These thin ceramic shells are designed to match your teeth then are bonded over the front surfaces to hide one or several flaws simultaneously.
However, many patients hesitate to be fitted with these restorations because they’re unsure what to expect. Continue reading to learn more about the process of getting veneers so you can make an educated decision to upgrade your grin!
Step #1: Consultation
Before proceeding with any elective treatment, you must consult your dentist to verify whether you’re a good candidate. They’ll update your medical history, discuss your dental goals and concerns, and then examine your mouth to ensure no pre-existing issues like cavities or gum disease interfere with your results.
If they find any areas of concern, like tooth decay, they’ll treat those first, so your mouth is clean enough to continue with cosmetics.
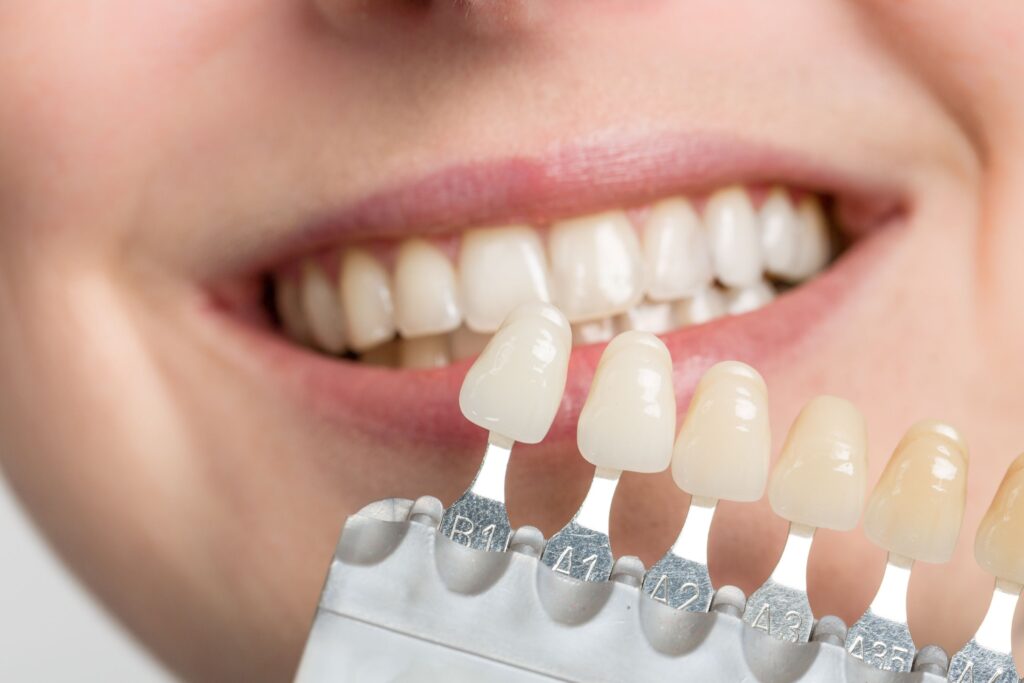
Step #2: Preparation & Impressions
Once your dentist determines that you can get veneers, they’ll remove some of your enamel (about half a millimeter) so they rest flush against your gumline. This protective outer layer doesn’t regenerate, making this an irreversible change to your smile. You’ll need to have veneers or another restoration to shield your teeth from potential harm moving forward. Fortunately, these prosthetics are known to last 25+ years if cared for correctly, making them an excellent long-term solution.
Next, your dental team will take images and make impressions of your teeth, gums, and bite alignment to send to a dental lab to begin building your covers. You might experience some mild sensitivity after this appointment due to the preparation, but it typically fades on its own after a few days.
Step #3: Placing Temporary Veneers
It can take several weeks for your customized prosthetics to arrive, so your dentist will likely place temporary veneers to protect your grin while you wait. These are not intended to last long, so they tend to be more fragile than the final product. You should avoid eating anything too hard or sticky that might crack, break, or dislodge them.
Step #4: Delivery & Placing Permanent Veneers
When your provider receives your completed restorations, they’ll schedule an appointment to try them on and ensure they look and feel like they should. If everything checks out, they’ll cement the prosthetics in place, wipe away excess material, and then polish them to a shine before sending you on your way.
If you are interested in veneers but still have unanswered questions, the best next step is to consult your dentist!
Meet the Author
Dr. Charles Beliveau has 30+ years of experience helping people build and maintain happy, healthy smiles. He graduated from the University of Maryland School of Dentistry and is a trusted member of several prestigious organizations, including the American Dental Association. He offers comprehensive services to meet your and your family’s needs at one convenient location, including cosmetic treatments like veneers. He combines his incredible attention to detail with state-of-the-art technology to provide beautiful, lifelike restorations that can improve your appearance and your dental health. You can request an appointment on the website or call (978) 687-5900.